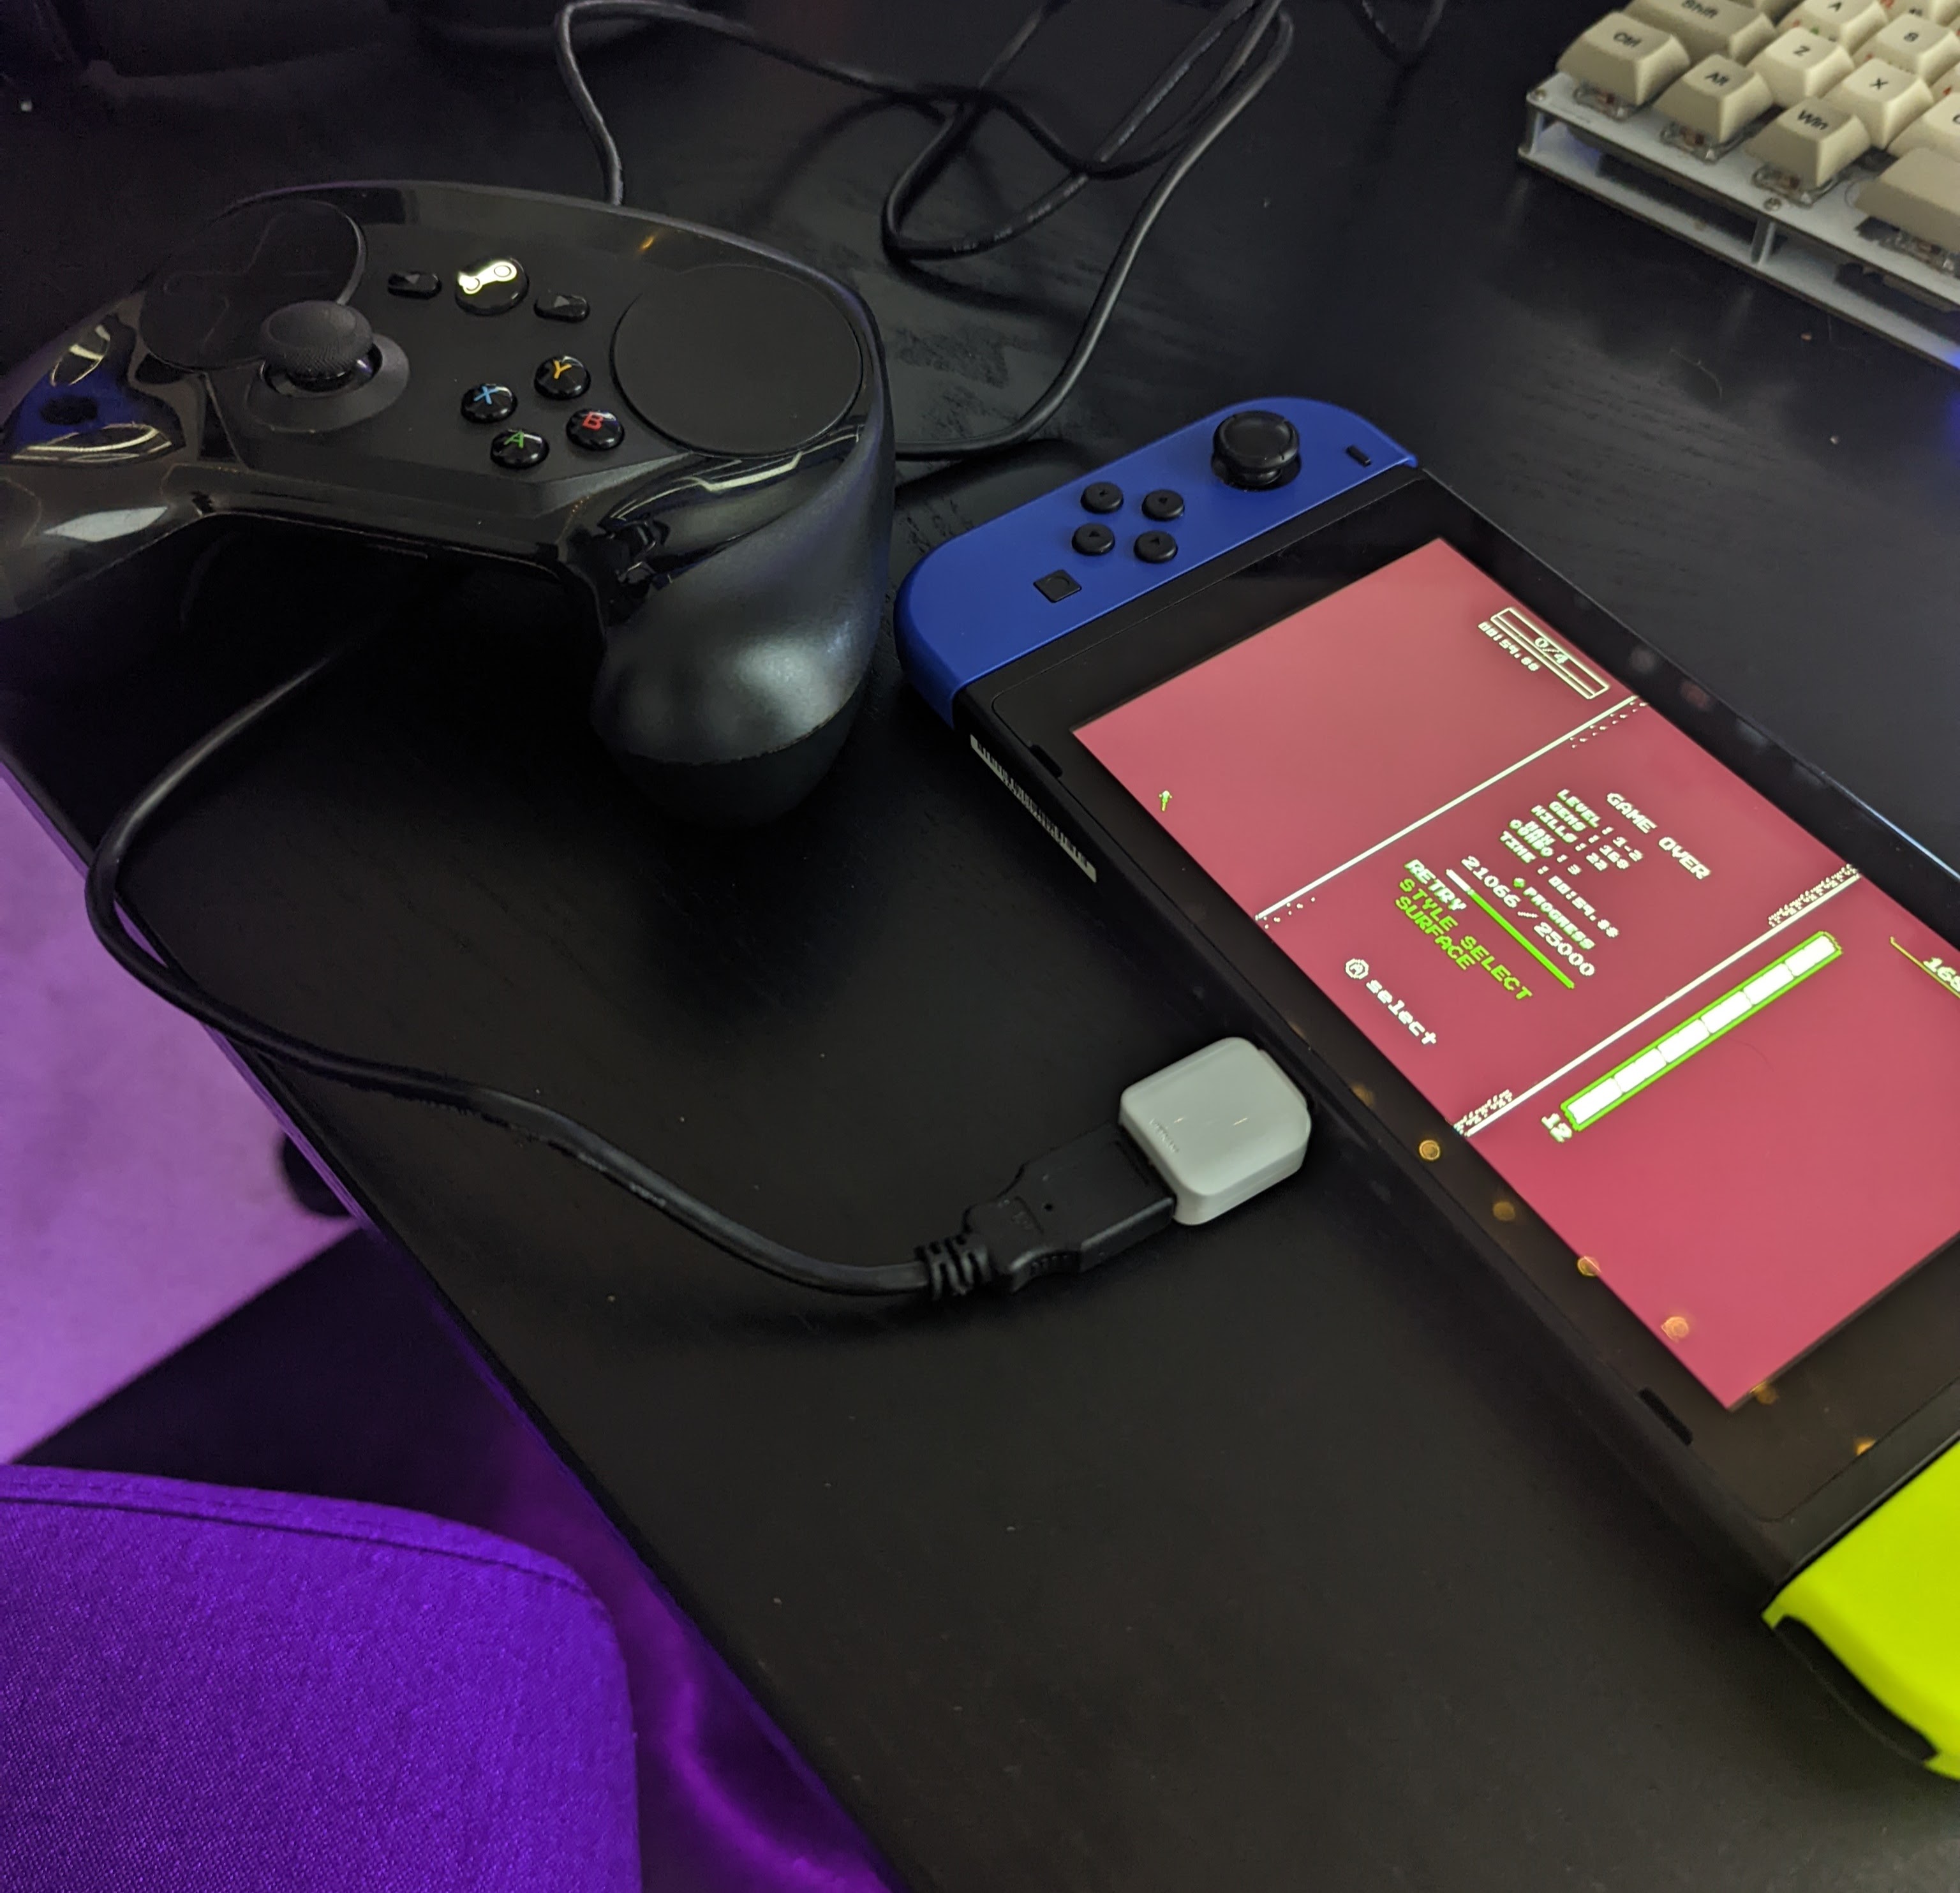
Using a Steam Controller with the Nintendo Switch
An unreasonably cursed setup for zero gainRemember the Steam Controller?

As it turns out, pretty much nobody does. I picked mine up back in elementary school at a good ol’ EB Games shop, and remember being blown away by the extensible configurability of the thing. Shooting portals with gyro aim really was a cool thing to experience.
What do you do with an old Steam Controller?
Well, I ended up surrounding myself with Nintendo Switch owners, and instantly disliking the feel of the Joy-Con controllers (seriously, who makes digital triggers!?). Thus the thought:
I wonder if I can pair third-party controllers to the switch?
It turns out that, yes, with some effort this is possible. Firstly, I tried an Xbox Wireless Controller which should in theory be compatible with the switch. According to various people on Reddit, later versions of the Nintendo Switch firmware contain a driver for the Xbox dongle, when plugged into the back of the switch dock, but I left my bluetooth dongle at my old highschool in another city, so that plan isn’t going very far.
Back to the Steam Controller. I thought, surely a completely configurable input device like this could be set up in a way to trick the switch into thinking its a supported controller.
I was almost wrong
As it turns out, I was not alone in wanting to Nintendo-ify a Steam Controller, and someone has already done most of the work.
Disclaimer: The following is about to be a guide in doing rather questionable things with a Steam Controller. If you aren’t 100% sure what you are doing with these types of devices, do not try any of this.
The OpenSteamController project
OpenSteamController is a now-abandoned project that completely re-implements the core functionality of the Steam Controller through reverse-engineered code.
With just a bit of work (and selling your soul to NXP), you can compile the custom firmware, and swap out the existing firmware for your own with patched switch support!
The steps
1) Clone the OpenSteamController repository
2) Head over to the LPCXpresso IDE download page, press the download button, create an account, and install the latest IDE version
3) Open the LPCXpresso IDE
4) Do File > Import > General > Existing Project into Workspace for both of these directories:
- /path/to/OpenSteamController/firmware/OpenSteamController
- /path/to/OpenSteamController/firmware/lpc_chip_11uxx_lib
5) Change FIRMWARE_BEHAVIOR to have the value SWITCH_WIRED_POWERA_FW in OpenSteamController/inc/fw_cfg.h
6) Right click the lpc project and build it, then do the same for the OpenSteamController project
For a less terse walkthrough, see the tutorial video.
After completing these steps, you will have a new firmware file at
OpenSteamController/Debug/OpenSteamController.bin
Flashing custom firmware to the Steam Controller;
Now for the fun part. It turns out the Steam Controller has a sort of Device Firmware Upgrade (DFU) mechanism that can be triggered by holding the right trigger while plugging the controller in.
After doing so, a new “drive” will appear on your machine called CRP DISABLD.
Make a backup of the firmware file on this drive!
At this point, the final flashing step is os-dependent. Assume your OpenSteamController.bin file is ${FIRMWARE} and the path to your CRP DISABLED drive is ${CRP_DRV}.
Linux
dd conv=nocreat,notrunc oflag=direct bs=512 if=${FIRMWARE} of=${CRP_DRV}/firmware.bin
macOS
cat ${FIRMWARE} > ${CRP_DRV}/firmware.bin
Windows
Simply copy the OpenSteamController.bin file to the CRP DISABLED drive and rename it to firmware.bin
Connecting everything
Finally, with a full-sized USB to USB-C adapter (like the one that comes with most phones), you can plug the controller into the switch. Make sure to enable support for wired switch pro controllers in the settings if you have issues.
A known (and annoying) problem is that the trackpads are wayy too sensitive with this firmware so.. Good luck?

If you want to revert to factory firmware, just copy the saved firmware.bin file back to the controller in the same way you deployed the custom one.
